Customers consume a significant amount of content daily, making it a challenge to capture their attention, make it worthwhile, and encourage them to click the CTA button.
So, if you are a business that feels the same and is looking for a way out, Isometric animation videos are the answer to your query.
Its clean, modern, and visually compelling nature helps businesses simplify complex ideas, capture attention, elevate brand presence, and encourage action. From explainer videos and product demos to interactive web designs, enterprises are leveraging isometric animation to communicate with clarity and style.
It has all those benefits, but only when done right. It requires a strategic, step-by-step approach that blends creativity with precision.
Let’s get started.
What is Isometric Animation?
At its core, isometric is a clever visual technique that brings flat designs to life using depth, movement, and precision. It is a visual representation where objects are drawn at equal angles (typically 30 degrees to the horizontal) without distortion.
Instead of showing things from a typical front-facing or side-on view, it uses a three-quarter perspective. This creates the illusion of 3D, without actually diving into complex 3D modeling.
With fixed perspective, isometric animations make it easier to showcase systems, workflows, product features, or even entire environments in a way that feels organized and digestible. It offers a smart way to explain complex systems, showcase processes, or highlight product features in a way that feels both professional and easy to understand.
Additional Read:
Why Isometric Video Animation Works So Well for Healthcare?
Step-by-Step Process of Creating Isometric Animation
Creating isometric animation videos is a strategic process, and a lot goes on behind the scenes. Each step—from idea to execution—plays a crucial role in shaping a video that not only looks great but communicates effectively. Let’s get to it.
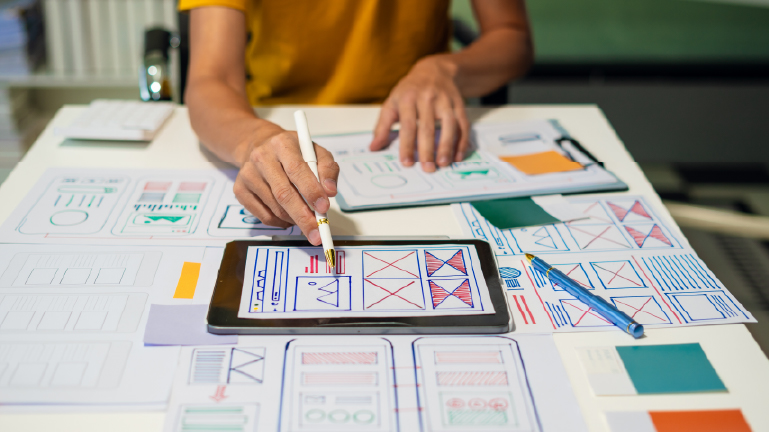
Step 1: Ideation and Storyboarding

First things first – ideation & finding out what your business wants is the first step towards creating an effective isometric animation video. In this phase, the goal is to define the message you want to communicate. Take time to understand your audience and decide what action you want them to walk away with after watching the video.
It starts by asking the right questions:
- What does your business want to communicate?
- Is it a walkthrough of a new product?
- A visualization of a complex process or workflow?
- Or would you like a walkthrough video of a physical environment like an office, factory, or store layout?
Once you know what you want, the next move is storyboarding. This is where you sketch out scenes. Keep it simple. It should capture the flow of information, explaining how key elements will appear. Building a storyboard right at the start will keep you on track for the following steps.
Step 2: Designing the Isometric Assets
Once you have created a storyboard for isometric videos, the next step is creating isometric assets. It means designing all the individual elements that will appear in your animation(in an isometric perspective).
It includes designing individual assets such as icons, characters, buildings, machinery, devices, or any object that supports your message in an isometric perspective. Everything is drawn at a consistent angle (typically 30°) to give that unique “3D-like” look, even though it’s technically still 2D.
In order to adhere to the branding and overall identity, marketers make sure that color, lighting, line weight, and depth are uniform across the asset and use either Adobe Illustrator, Figma, or Sketch for the same.
Step 3: Creating the Isometric Grid

The next step after finishing the isometric assets for the animation video is designing the isometric grid. This is the hidden structure that makes sure every element you design will fit seamlessly into the animation video. This isometric grid creates the illusion of 3D, while incorporating the depth and structure.
An Isometric grid consists of lines spaced out at 30° and 120° angles evenly to provide appropriate perspective and alignment.
Most design tools—like Illustrator, Figma, or even After Effects—help you import or create custom isometric grids. Once it’s set up, this grid keeps everything aligned & consistent.
For businesses, especially those working on explainer videos or product showcases, this level of precision makes a big difference. So, before jumping into animation, take the time to set up your grid properly.
Step 4: Importing Assets into Animation Software

With your isometric assets ready and grid system in place, it’s time to move into the animation phase.
- Importing assets: Ensure you include your assets in the animation software of your choice.
- Right tools for animations: Most designers and animators use tools like Adobe After Effects, Blender (for 3D-style effects), or Spine (for 2D character animation).
- Labelling: Make sure to properly label everything – it will help you find it in the future.
- Grouping: Group elements by scenes or sets by their backgrounds, characters, icons, and UI elements to streamline workflow & collaboration.
- Importing: Assets must be imported in the correct format, as Stencil Vector Files (SVG) or Illustrator (AI) are excellent for scaling without quality loss. Consider PNG Format to preserve image resolution and transparency when needed.
- Positioning: Once assets are in the software, your designers can position them on the isometric grid, set up layers, and prepare them for motion.
This step bridges the gap between design and storytelling.
Step 5: Animating the Scene

Now comes the most crucial part—animating the scene in isometric. This part involves capturing where to direct the audience’s focus, the rhythm of information flow, and the overall graphical composition to curate an experience that’s visually appealing and impactful.
To begin, feel free to animate each scene according to the storyboard you designed previously.
A few of the most important things:
- Consider how elements should come into and exit the frame.
- How do they move in relation to one another?
- What types of transitions feel the most appropriate?
Remember that each animation must have intent, be it to visually demonstrate a concept, emphasize a product attribute, or even just maintain the audience’s interest.
Also, you need to abide by the timing. If the animation is fast, your message might get lost. Too slow, and you risk losing the viewer’s attention.
You can even add motion techniques like easing (for natural acceleration and deceleration), parallax (for depth illusion), and layering (to separate background from foreground elements). These small touches go a long way & can elevate a simple animation into the extraordinary.
Step 6: Adding Details and Effects
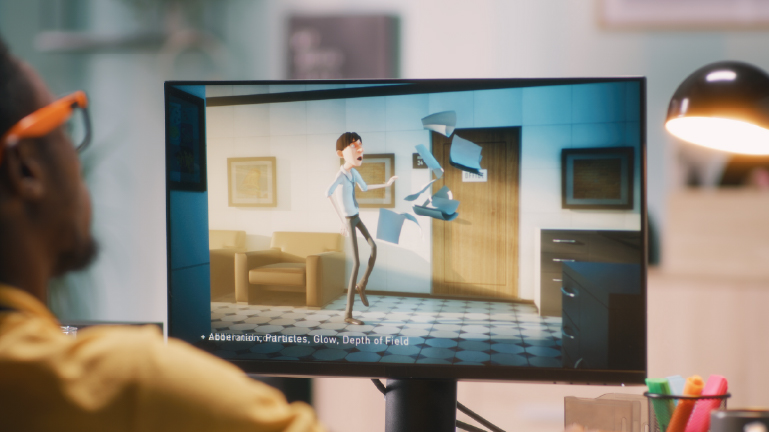
This step includes adding that fine details to sharpen the isometric animation and ensure the results look appealing. This is the moment when precision is crucial.
A minor shadow, a delicate glow, or a subtle bounce effect can significantly impact the overall perception of the animation. For example, if you’re showing data flowing through a system, a glowing line that follows the path helps make it feel intentional and easy to follow.
Alternatively, when there is a change, you can leverage fade, zoom, or a change in lighting to ensure a seamless shift.
Sound design is also a significant factor in this process. Although it is not mandatory, incorporating subtle sound effects such as clicks, swooshes, or ambient background noise can significantly enrich the viewer’s experience.
Ultimately, the most effective effects are those that reinforce the message without overshadowing it.
Step 7: Rendering and Export

Well, it’s finally the last step. After all those steps, it’s time for rendering, exporting & bringing your animations to the world.
Rendering is the process of converting your animation into a final video format. But before you hit that export button, take a moment to double-check everything—scene transitions, timing, sound sync, and overall flow. It’s always worth giving it one last full run-through to catch anything that might feel off.
Next, choose your export settings carefully based on where you want to put your animation video.
- For your website, you’ll want a balance between quality and file size. MP4 is usually a safe, web-friendly format.
- For social media, you might need square or vertical dimensions depending on the platform.
Also, don’t forget to test how it looks and sounds across different devices—laptop, phone, tablet—to make sure nothing feels out of place.
Once everything checks out, hit export. And that’s it—your isometric animation is complete!
To Wrap it Up!
Here’s the wrap on the comprehensive process of how an isometric animation explainer video is created. We’ve added all the information businesses, designers, and animators need to create an effective isometric animation for your brand.
Make sure to have the best designers working on this, follow best practices, and go through it step by step to ensure the results your business truly deserves.
If you’re looking for professionals who can help you better understand the process or take care of the isometric video animations, while you keep your focus on running the business, Krisha Studio can help. Reach out to us, talk to our experts, and find out everything you need to know.